Tomato Ketchup
The
Professor loves ketchup. I mean L.O.V.E.S. it. Would swim around in it
if I allowed him to do so. Trouble is, most ketchup you get from the
store is...well, you don't really want to know what they do to those
poor tomatoes. Wanna know how they get all the ketchup in those
thousands of bottles the same color? They totally bleach out the tomato
sauce and then dye all a uniform shade of red. Uh....aren't tomatoes
already red?
And then there's the issue
of what it is stored in. The only products that are approved by the FDA
for commercial tomato products are ones that contain BPAs.
That's a
problem around my home. My solution? Make my own ketchup! It's way
easier than I ever imagined and actually tastes like a real food. As an
added bonus, a girl can turn this into a probiotic food by mixing in a
few tablespoons of whey after opening the bottle and letting it sit for a
day or so. Like magic, ketchup that not only tastes yummy, but is good
for you, too! Who would have every thunk it?
So here is my recipe, adapted from the
Ball Complete Book of Home Preserving.
(If you don't own this book, you should.) You can easily adjust the
seasonings to fit your family's preferences. While I use honey, most
recipes call for sugar - using honey will change the flavor profile depending on the type of honey you use, so
if your family isn't used to honey-based ketchup, you might want to do the first couple
with a high quality sugar.
Yield: 13 pints
Ingredients
25 lbs tomatoes, washed
2 medium onions, peeled and quartered
5 cloves of garlic, peeled
3 Tbsp celery seeds
4 tsp whole cloves
3 cinnamon sticks, broken into pieces
1 1/2 tsp allspice
3 c. apple cider vinegar
1 1/4 c. honey (or 1 1/2 c. sugar)
1/4 c. sea salt (canning or pickling salt can be used, too)
1 tsp cayenne pepper
Directions
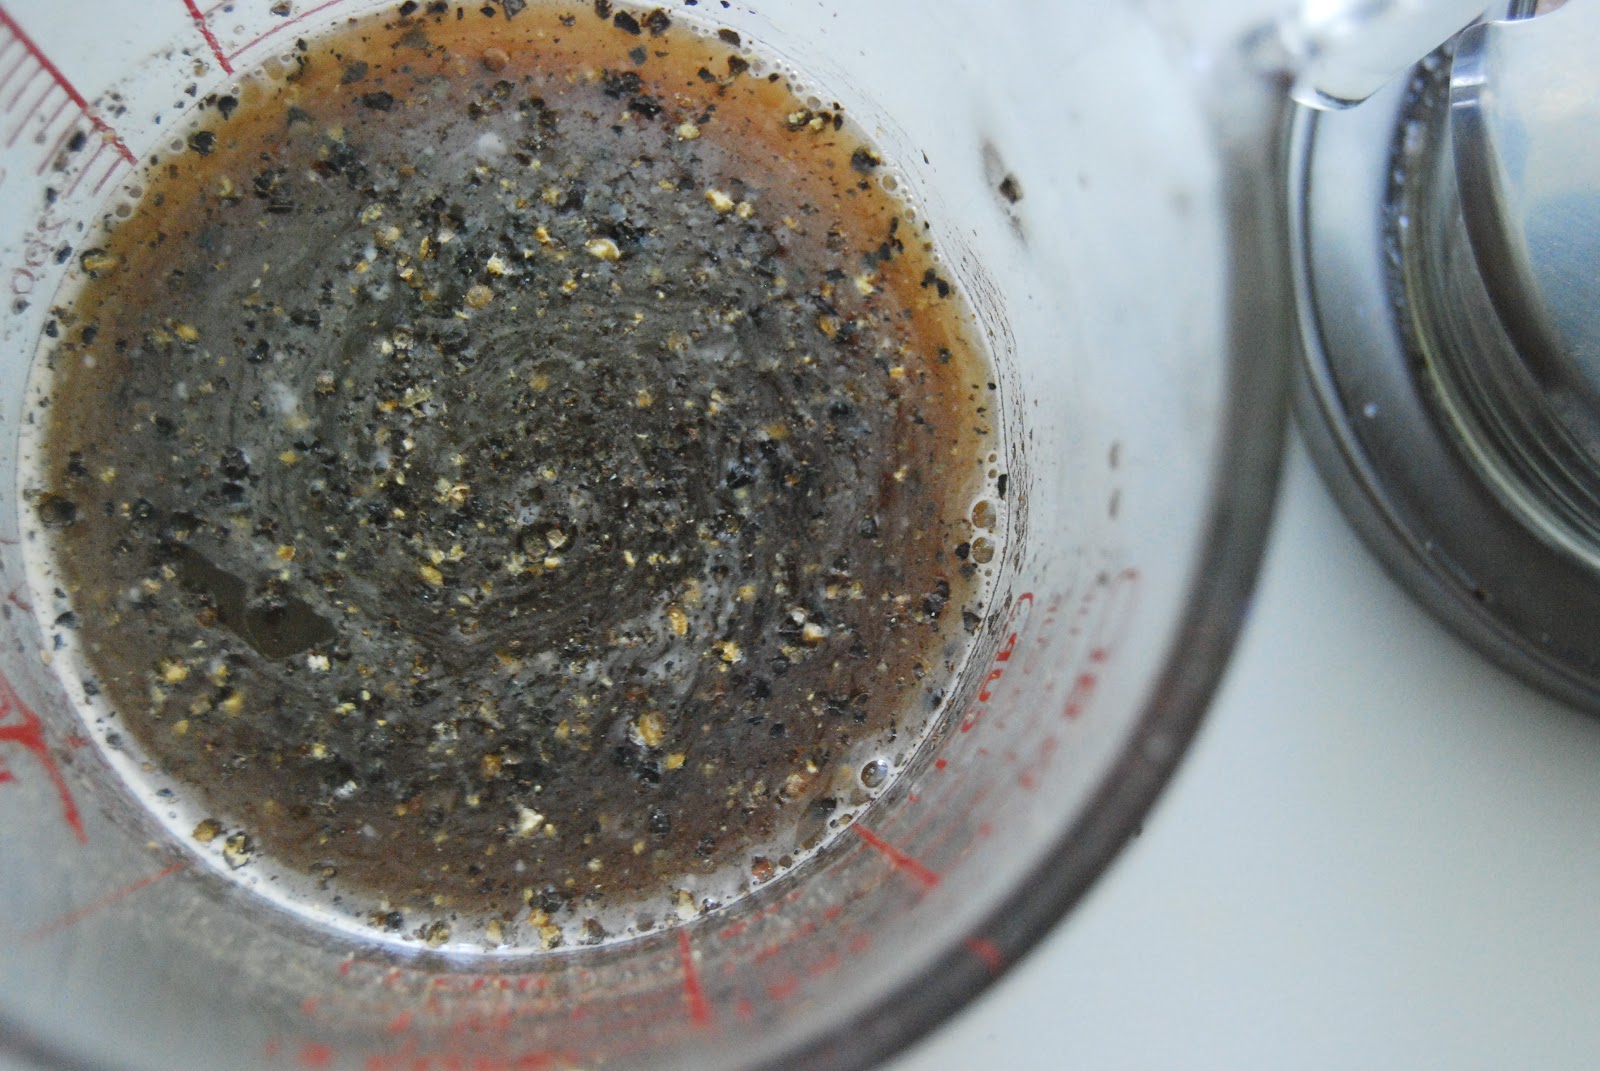
Place
vinegar and spices in a medium sauce pan. Bring to a boil over a high
heat. Remove from heat and let stand for 25 minutes.
One of my favorite cider vinegars. Mrs. Bragg makes another good one, too.
Spices (from top, in clockwise direction: cinnamon, allspice, celery seed, whole cloves)
Meanwhile, cut tomatoes in half or quarters (depending on your blender and the variety of tomatoes you are using. I almost always use Roma to make ketchup, but any variety will do. The less meaty varieties might take longer to cook down and give you a bit of a smaller yield, though).
Process
in a high-powered blender until completely smooth. Skins, seeds, core,
all of it - don't let any of that tomatoey-goodness go to waste! (The
Ball recipe has you cook the tomatoes and onions, then push through a
sieve, which removes the skins. From a nutritional standpoint, this
makes no sense as the skins are packed with nutrients.)
Pour puree into large heavy-bottomed stainless steel pot.
Peel
and cut blossom and root ends off onions, then cut into quarters.
Don't
throw away the ends and skins away - put them in a freezer bag and pop
them in the freezer for making stock some other time!
Peel garlic. Save the skins from this, too. Never let good food go to waste, and garlic is GOOD food, always.
Place onions and garlic in blender and process. Be sure you are wearing waterproof mascara for this part of the recipe. Or at least get some good mileage out of the tears by convincing your husband you are crying because of something you just heard on the radio. (Eventually, he will notice the onions, but it will be good for a laugh between the two of you anyway.)
Pour puree into large pot with the tomato puree.
Add honey (or sugar),
salt, and cayenne pepper. (I used Real Salt rock salt this time around, simply I was out of anything else, but it worked just fine. The Ball book recommends pickling salt, but since this is MY ketchup and I don't care if a white sediment forms at the bottom, I can put whatever kind of salt I want in it. Plus, I never notice the white sediment because the ketchup is opaque.)
Strain vinegar and spice mixture, then pour into the tomato/onion mixture (man it's tough to take a picture while holding the strainer and pouring a boiling liquid!).
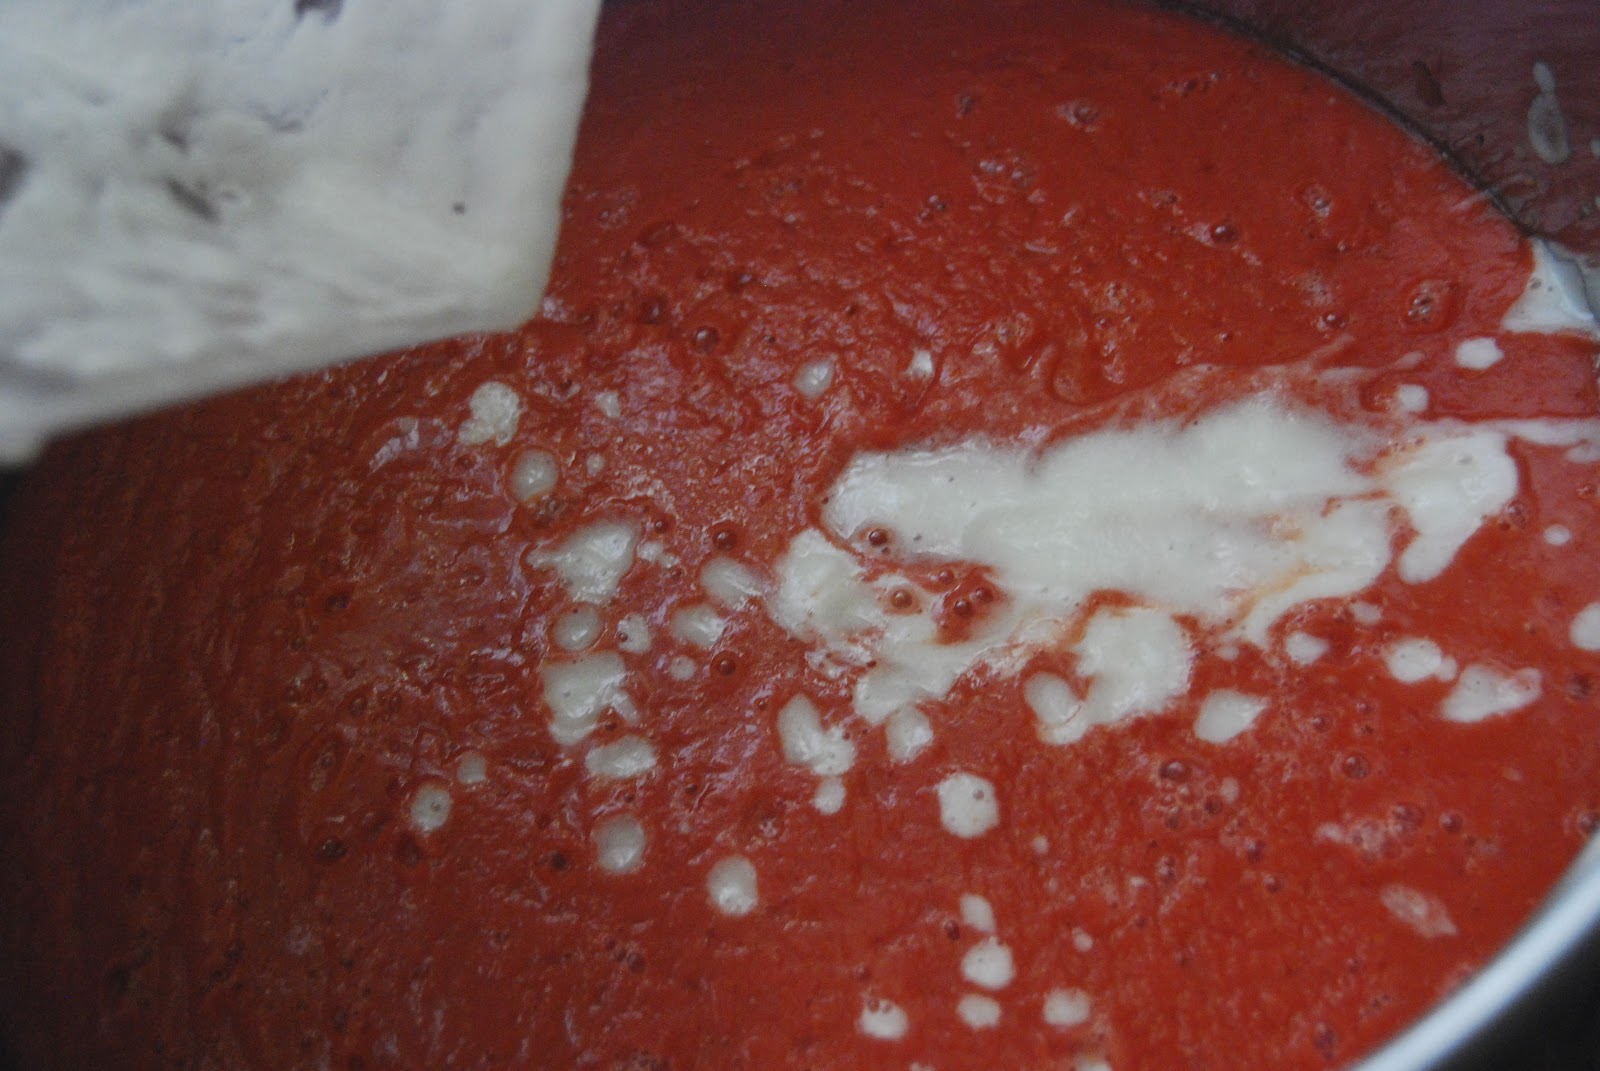
Bring
to a boil over a medium heat, stirring occasionally.
Reduce the heat
and boil gently until the volume has been reduced in half and is the
consistency of ketchup. Homemade ketchup can be a bit thinner than
store bought, but the skins help a great deal by adding body to it
(which is another great reason to keep them instead of chucking them). This can take a while, so be patient and do the laundry or make some bread, or read a book, or write an article, or or or or...you get the idea.
When ketchup is nearing the desired consistency, prepare
canner, jars, lids, rings, and seals, if you use them. I have started using
Tattler reusable two-piece lids and seals and I LOVE them. If you haven't tried them yet, you really
should.
Ladle hot ketchup into hot jars, leaving 1/2"
headspace. Wipe rims, place rings, lids, and bands and screw down until
finger-tip tight.
Place jars in canner and make sure
they are covered completely by the water. Bring to a boil and process
for 15 minutes. Turn off heat, let stand 5 minutes, and then remove
jars. Screw bands on tightly and let cool, then store.
(Recipe without pictures or commentary.)
Tomato Ketchup
25 lbs tomatoes, washed
2 medium onions, peeled and quartered
5 cloves of garlic, peeled
3 Tbsp celery seeds
4 tsp whole cloves
3 cinnamon sticks, broken into pieces
1 1/2 tsp allspice
3 c. apple cider vinegar
1 1/4 c. honey (or 1 1/2 c. sugar)
1/4 c. sea salt (canning or pickling salt can be used, too)
1 tsp cayenne pepper
- Place vinegar and spices in a medium sauce pan. Bring to a boil
over a high heat. Remove from heat and let stand for 25 minutes.
- Meanwhile,
cut tomatoes in half or quarters (depending on your blender). Process
in blender until smooth. Pour puree into large heavy-bottomed stainless
steel pot. (I use my gumbo pot for making ketchup and other tomato
sauces.)
- Peel and cut blossom and root ends off onions, then cut into
quarters. Don't throw away the ends and skins away - put them in a
freezer bag and pop them in the freezer for making stock some other
time!
- Peel garlic. Save the skins from this, too.
- Place onions and garlic in blender and process. Pour puree into large pot with the tomato puree.
- Add honey (or sugar), salt, and cayenne pepper to the tomato/onion mixture.
- Strain vinegar and spice mixture, then pour into the tomato/onion mixture.
- Bring
to a boil over a medium heat, stirring occasionally. Reduce the heat
and boil gently until the volume has been reduced in half.
- Prepare canner, jars, and lids. I have started using the Tattler
reusable rings and lids and LOVE them. If you haven't tried them yet,
you really should.
- Ladle hot ketchup into hot jars, leaving 1/2" headspace. Wipe
rims, place rings, lids, and bands and screw down until finger-tip
tight.
- Place jars in canner and make sure they are covered completely by
the water. Bring to a boil and process for 15 minutes. Turn off heat,
let stand 5 minutes, and then remove jars. Screw bands on tightly and
let cool, then store.